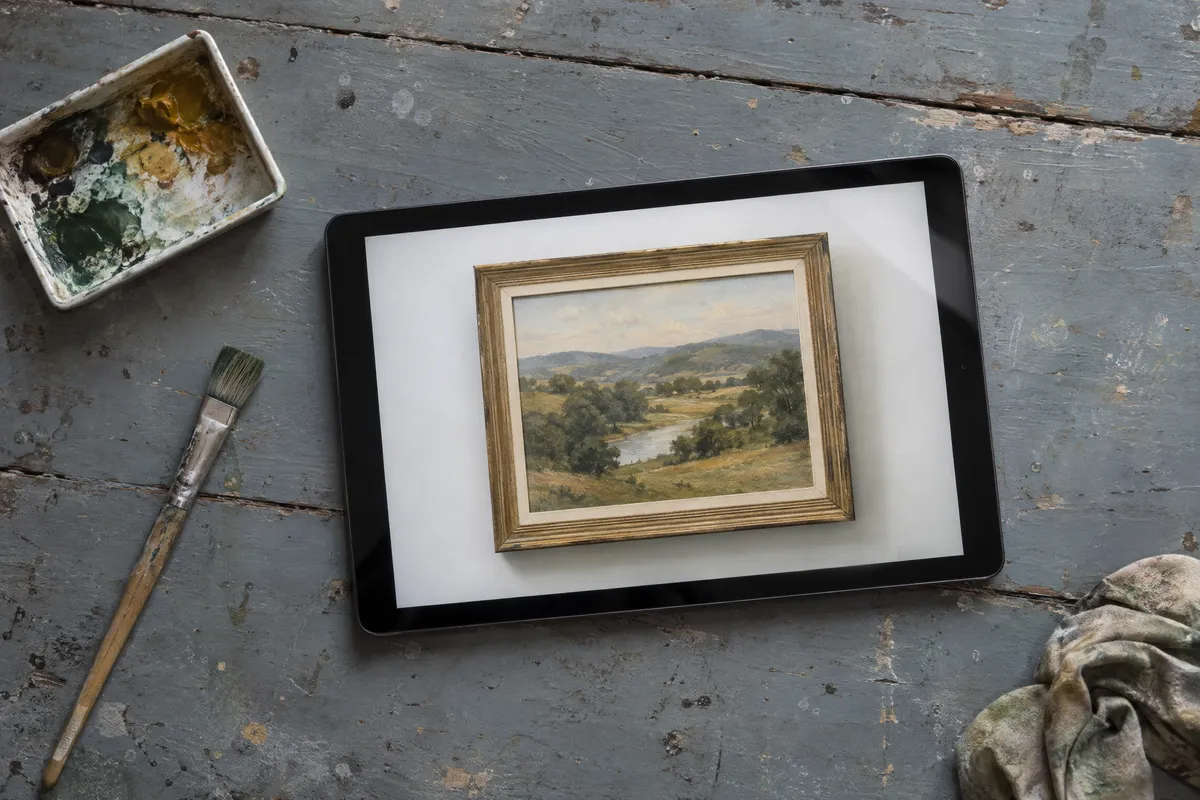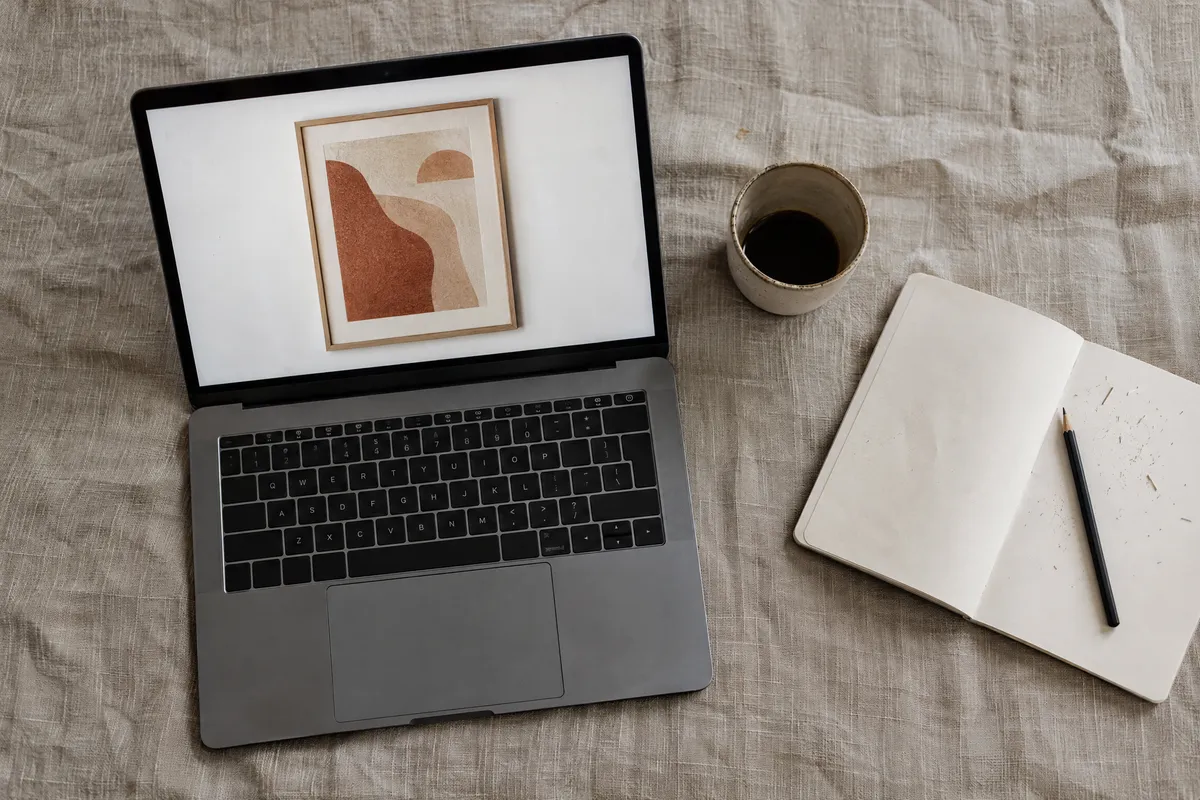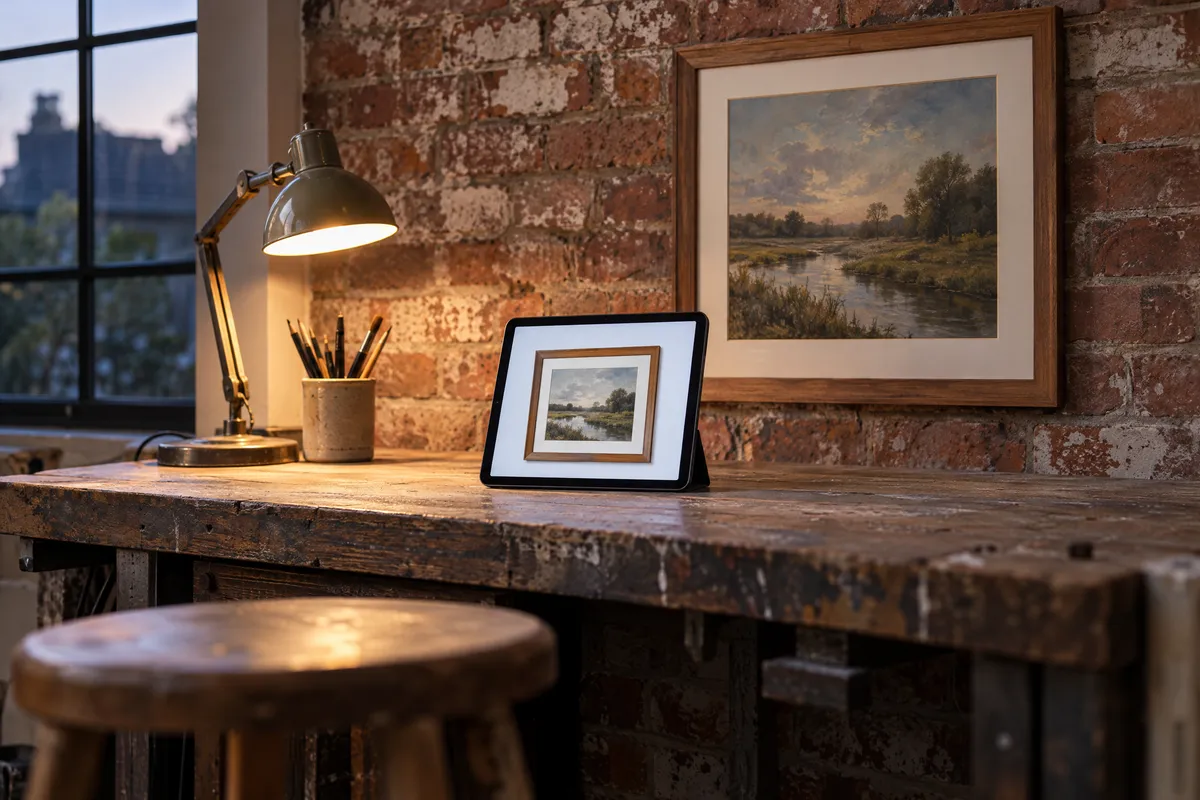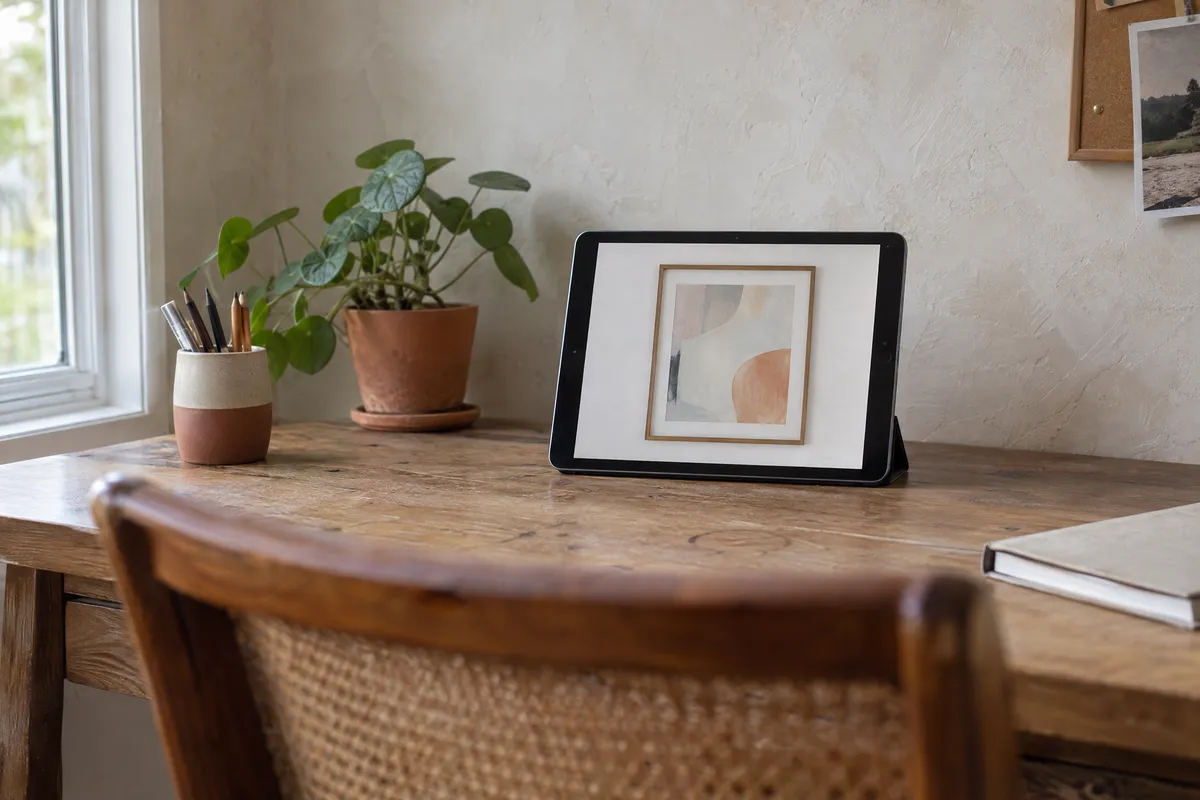
Seeing artwork in isolation tells you almost nothing about how it will feel in a real space. Wall art visualization bridges this gap, showing exactly how pieces will look when hung in actual rooms. Whether you're an artist trying to sell more, a buyer making confident decisions, or a designer presenting options to clients, mastering wall art visualization is essential.
What is Wall Art Visualization?
Wall art visualization is the process of previewing how artwork, photographs, or prints will appear when displayed on walls in real environments. This can range from simple mental exercises to sophisticated augmented reality applications.
At its core, visualization answers the question every art buyer asks: "How will this look in my space?"
Why Visualization Matters
For artists and sellers:
- Increases buyer confidence and reduces purchase hesitation
- Reduces returns and dissatisfaction
- Enables premium pricing through professional presentation
- Provides marketing content for social media and listings
For buyers:
- Eliminates guesswork about size and scale
- Helps assess color compatibility with existing decor
- Prevents expensive mistakes
- Enables confident purchasing decisions
For designers:
- Streamlines client approval processes
- Allows remote presentations
- Tests multiple options without physical samples
- Documents recommendations professionally
Methods of Wall Art Visualization
1. Digital Mockup Tools
Digital tools like our Picture Frame Generator and View in Room feature create realistic wall previews without any physical staging.
Advantages:
- Free or low cost
- Instant results
- Unlimited experimentation
- High-quality exportable images
Best for:
- Online sellers creating listing images
- Artists building portfolios
- Initial visualization before physical preview
2. AR (Augmented Reality) Apps
Augmented reality apps overlay digital artwork onto real-world views through your phone or tablet camera.
Advantages:
- Uses your actual walls
- Real-time scaling
- Immediate spatial understanding
Limitations:
- Requires compatible devices
- Lighting affects accuracy
- Can be glitchy or imprecise
Best for:
- Final purchase decisions
- Testing in specific locations
- Client presentations in their spaces
3. Photo Composite Techniques
Using photo editing software, you can manually place artwork into room photographs.
For a to-scale preview on your own wall, the generator does the placing for you: In Place, choose In a room, then Your room, select a photo of your wall and measure something on it. Editing software remains the way to full control over perspective, light and retouching.
Advantages:
- Ultimate control and realism
- Can match exact spaces
- Professional portfolio quality
Limitations:
- Requires editing skills
- Time-consuming
- Need good room photographs
Best for:
- Professional presentations
- Marketing materials
- Custom client work
4. Physical Mockups
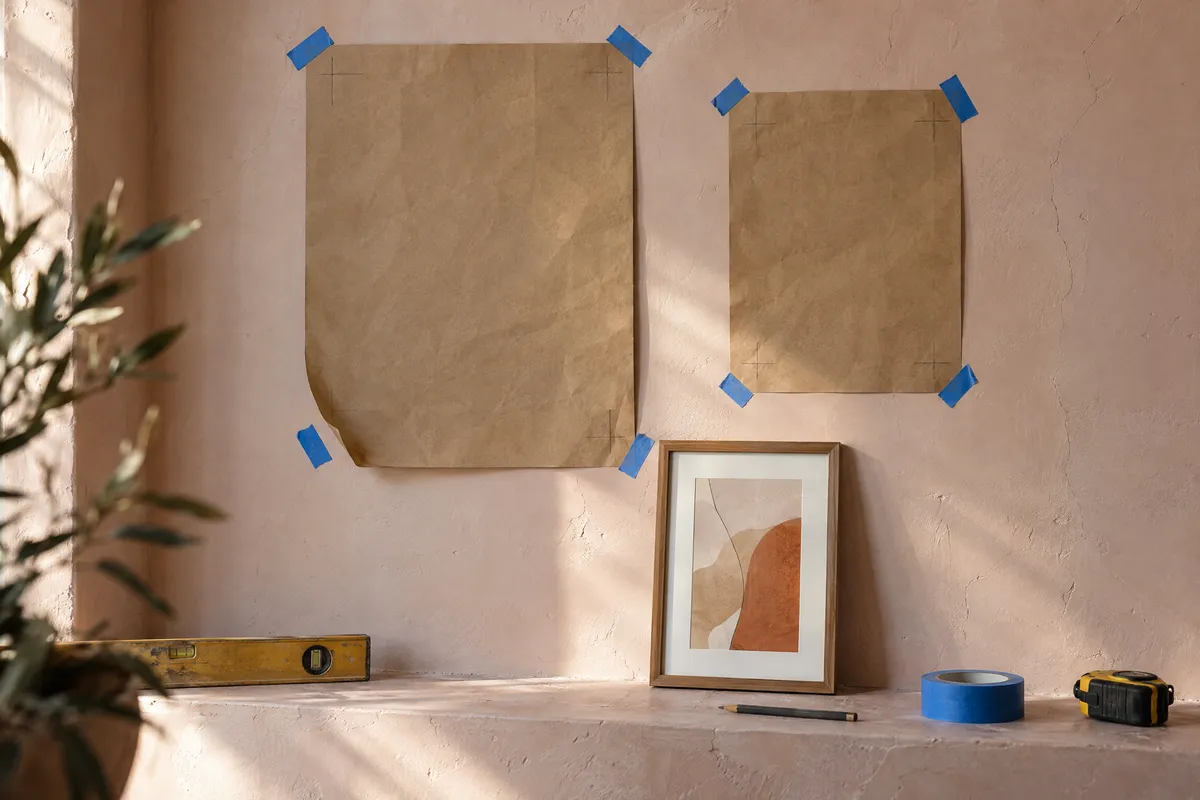
Printing artwork at scale on paper and temporarily hanging it tests real-world presence.
Advantages:
- True-to-life size experience
- No technology required
- Tests lighting in actual space
Limitations:
- Requires printing costs
- Only tests one size per print
- Doesn't show framing
Best for:
- Final decisions on major purchases
- Testing exact placement
- Validating digital previews
Advertisement
Using Our Wall Art Visualization Tools
Our View in Room feature makes professional wall visualization accessible to everyone.
Step 1: Frame Your Artwork First
Start by using the Picture Frame Generator to create a framed version of your artwork. This adds realism and helps visualize the complete presentation.
Step 2: Choose a Wall Setting
Select from various wall colors and room contexts. Consider:
- Wall colors similar to the intended display space
- Room types matching the artwork's intended setting
- Lighting conditions that reflect typical environments
Step 3: Adjust Scale
Size matters enormously in wall art. Use dimension settings to preview:
- Standard print sizes (8x10", 11x14", 16x20", etc.)
- Custom dimensions matching available prints
- Various scales to find optimal impact
Step 4: Export and Share
Download high-resolution images for:
- Online listings
- Client presentations
- Social media marketing
- Personal decision-making
Wall Art Placement Strategies
Visualization tools let you test placement strategies before committing.
Height Guidelines
Standard hanging height: Center artwork at 57-60 inches from floor (average eye level)
Above furniture: Leave 6-8 inches between furniture top and artwork bottom
Gallery style: Align bottom edges of grouped works at consistent height
Stairway: Follow the stair angle, maintaining consistent distance from steps
Spacing Rules
Between pieces: 2-3 inches for most groupings, up to 4 inches for larger pieces
From corners: Leave visible breathing room from wall corners or architectural features
Near furniture: Artwork shouldn't extend beyond furniture edges below it
Scale Considerations
Single statement piece: Should span 2/3 to 3/4 of furniture width below
Gallery walls: Treat the entire grouping as one unit when calculating proportion
Large walls: Multiple smaller pieces often work better than one undersized artwork
Room-by-Room Visualization Tips
Living Room
Living rooms typically feature the largest wall art. Consider:
- Statement pieces above sofas (2/3 sofa width)
- Gallery walls on focal walls
- Art that accommodates varied viewing distances
- Colors that tie room elements together
Use warm, inviting imagery that welcomes conversation.
Bedroom
Bedrooms call for calming, personal pieces:
- Above headboard (about two-thirds of the bed width)
- Diptychs or triptychs for wide headboards
- Soothing colors and imagery
- Personal or meaningful subjects
Avoid busy, stimulating imagery in sleep spaces.
Dining Room
Dining rooms benefit from:
- Statement art as focal point
- Food-related or nature imagery
- Colors that don't clash with meals
- Pieces visible from seated position
Consider art that encourages conversation.
Home Office
Office spaces need:
- Inspirational or focusing imagery
- Art visible during video calls (behind desk)
- Professional but personal selections
- Appropriate scale for desk viewing
Avoid distracting or busy pieces.
Hallways and Entries
These transitional spaces suit:
- Gallery wall arrangements
- Series or collections
- Pieces that draw visitors inward
- Durable frames for high-traffic areas
First impressions matter, so choose welcoming pieces.
Visualization for Specific Audiences
For Artists Selling Online
Wall visualization helps online art sales: a buyer scrolling through listings sees the piece in a room, not just as a flat image.
Best practices:
- Include at least one room visualization per listing
- Show scale comparison with familiar objects
- Create lifestyle images for social sharing
- Maintain consistent mockup styles across your shop
Learn more: Art Mockups for Artists
For Interior Designers
Designers use visualization to help clients decide with confidence.
Professional workflow:
- Gather client's room photos or wall colors
- Create framed mockups of proposed artwork
- Place in room contexts matching client spaces
- Present multiple options for comparison
- Iterate based on feedback
Learn more: Tools for Interior Designers
For Photographers
Photographers can increase print sales by showing clients how portraits will look in their homes.
Session upselling:
- Create wall mockups of key images
- Show gallery wall possibilities from sessions
- Demonstrate scale options
- Help clients visualize family groupings
Learn more: Photography Frame Preview
Creating Wall Art Mockups
Follow these steps to create professional wall art mockups:
Step 1: Prepare Your Artwork
- Use high-resolution images (2000+ pixels)
- Ensure accurate colors
- Remove backgrounds if needed
- Straighten and crop precisely
Step 2: Add Framing
Visit our Picture Frame Generator to:
- Select appropriate frame style
- Choose mat colors
- Adjust proportions
- Export framed version
Step 3: Create Wall Preview
Use View in Room or our Wall Art Mockup Generator to:
- Place framed art on walls
- Test different wall colors
- Adjust scale and position
- Export final mockups
Step 4: Polish and Use
- Save in appropriate formats for intended use
- Create multiple versions for variety
- Maintain consistent quality across pieces
Common Visualization Mistakes
Mistake 1: Unrealistic Scale
Showing artwork too large or small undermines credibility. Always represent accurate dimensions.
Mistake 2: Generic Rooms
Overly perfect stock room images can feel fake. Choose realistic settings that buyers can relate to.
Mistake 3: Clashing Colors
Ensure room mockups have wall colors that complement the artwork. A clashing background hurts the presentation.
Mistake 4: Ignoring Shadows and Lighting
Flat, shadow-free mockups look artificial. Use tools that add realistic depth and lighting.
Mistake 5: Overcrowding
Showing too much furniture or decor distracts from the artwork. Keep room contexts simple.
Frequently Asked Questions
How accurate are digital wall visualization tools?
Good tools like our View in Room feature provide accurate proportions and realistic representations. While lighting and texture can't perfectly match every real space, the visualization reliably shows scale, color relationships, and overall impact.
Should I visualize every piece I sell?
At minimum, include wall visualization for featured pieces and new listings. For complete catalogs, prioritize best-sellers and premium items. Quality matters more than quantity.
What wall colors work best for mockups?
Neutral colors (white, off-white, light gray) work for most artwork. For more dramatic presentations, consider colors that complement specific pieces. Avoid very dark walls unless the artwork specifically calls for them.
Can I use room photos of my own space?
Yes, in the generator. In Place, choose In a room, then Your room, and select a photo of your wall. Drag the line along something whose length you know, such as a sofa or a door, and type that length, so your artwork hangs at its real size.
Getting Started
Wall art visualization transforms how art is bought, sold, and displayed. Whether you're using simple digital tools or sophisticated AR applications, the ability to preview art in context leads to better decisions and more successful transactions.
Start visualizing today:
- Visit the Picture Frame Generator to frame your artwork
- Use View in Room to see it on walls
- Try the Wall Art Mockup Generator for professional marketing images
- Experiment with different settings and sizes
- Download and use your visualizations
The gap between "I like this art" and "I'm buying this art" is often just a matter of visualization. Bridge that gap, and watch your art find the homes it deserves.
Create your first wall art visualization now with our free Picture Frame Generator and View in Room tools.