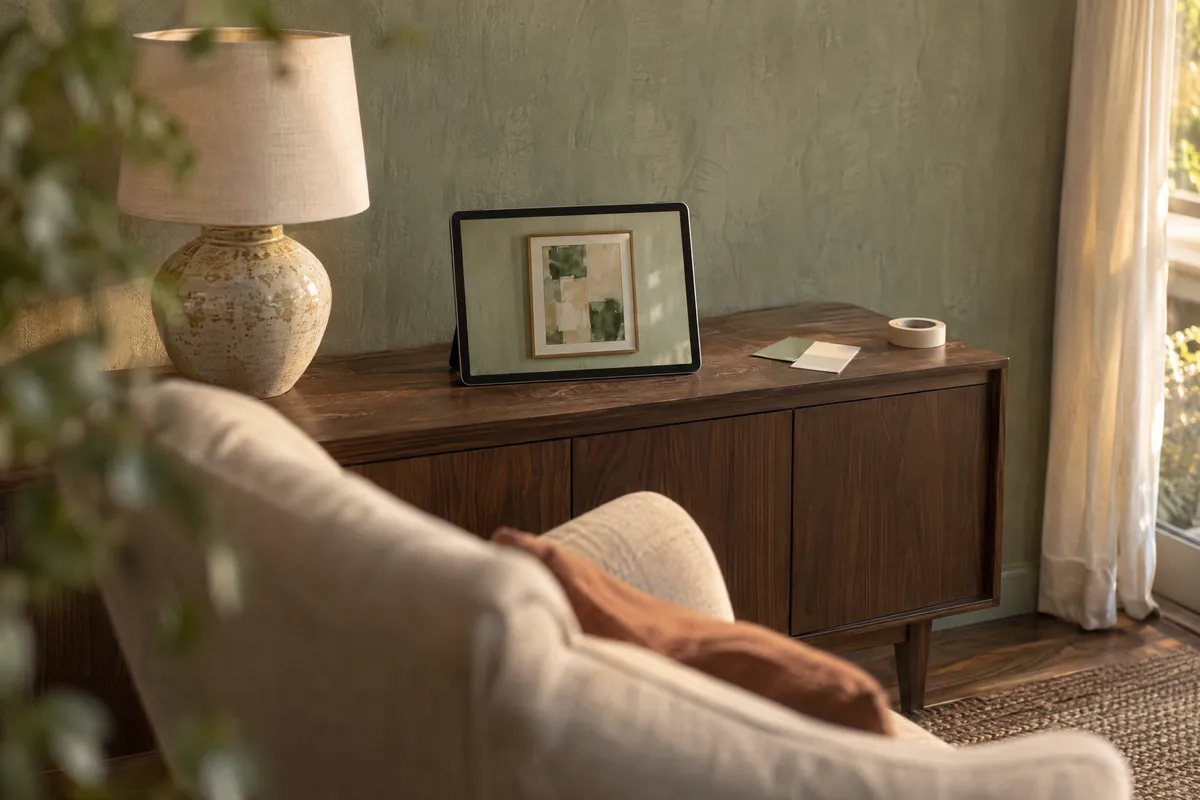
Worried about whether that art piece will work in your space? Learn how to preview artwork on your walls using free visualization tools, AR apps, and simple DIY techniques before making a purchase.
The Art Buying Dilemma
You've found the perfect piece of art online. The colors are stunning, the composition speaks to you, and the price is right. But there's one nagging question: Will it actually look good on my wall?
This uncertainty stops countless art purchases. Without seeing the piece in your actual space, it's hard to know if the size is right, if the colors complement your decor, or if the style matches your room's aesthetic.
Fortunately, technology has solved this problem. Today, you can visualize artwork on your walls before buying, eliminating guesswork and buyer's remorse. This guide covers all the methods available, from free online tools to augmented reality apps.
Why Visualization Matters
Seeing art in context before purchasing offers several benefits:
- Size confidence: Understand exactly how large or small a piece will appear
- Color harmony: Check if artwork colors work with your existing decor
- Style matching: Ensure the piece fits your room's aesthetic
- Placement planning: Find the perfect spot on your wall
- Avoid returns: Make confident purchases the first time
Advertisement
Method 1: Online Wall Art Visualizers
The easiest way to see art on your wall is using online visualization tools. These allow you to upload artwork and preview it in room settings without downloading any software.
Using Our Free View in Room Tool
Our View in Room feature lets you see artwork in various interior settings instantly:
- Upload your artwork image (or use one you're considering buying)
- Choose a room setting that matches your space, or Your room for a photo of your own wall
- Adjust the size to match actual dimensions
- Preview different wall colors to match your room
- Download the visualization for reference
This free tool works directly in your browser with no signup required. Your images stay private since all processing happens locally on your device.
Benefits of Online Visualizers
- Free to use: No subscription or purchase required
- Instant results: See your art on walls in seconds
- Multiple room options: Test various interior styles
- Easy sharing: Download and share with others for opinions
- Works anywhere: Use on any device with a browser
Method 2: Augmented Reality (AR) Apps
AR apps use your smartphone camera to overlay virtual artwork onto your actual walls in real-time. This provides the most realistic visualization experience.
Popular AR Art Preview Apps
| App | Platform | Best For |
|---|---|---|
| Artplacer | iOS, Android | Custom artwork |
| Houzz | iOS | Home decor integration |
How AR Visualization Works
- Download the app to your smartphone
- Allow camera access
- Select or upload artwork
- Point camera at your wall
- Position and resize the virtual artwork
- Walk around to see from different angles
Pros and Cons of AR Apps
Pros:
- See art on your actual wall, not a generic room
- Real-time positioning and resizing
- View from multiple angles
- Very realistic visualization
Cons:
- Requires smartphone with AR capability
- Some apps limit uploads to their catalog
- Quality varies between apps
- Can be finicky with lighting conditions
Method 3: Create Frame Mockups First
Before visualizing art on walls, seeing it framed provides crucial context. Framing dramatically changes how artwork appears.
Using Picture Frame Generator
Our Picture Frame Generator lets you:
- Upload any artwork
- Try different frame styles (modern, classic, minimal, ornate)
- Add mat boards in various colors
- Preview on wall backgrounds
- Download high-resolution mockups
This step is especially important when buying unframed prints, as the final framed appearance can differ significantly from the bare artwork.
Why Frame First, Then Visualize
- Size changes: Frames and mats add significant dimensions
- Style impact: Frame choice affects how art reads in a room
- Color coordination: Frame colors influence overall harmony
- Realistic preview: Framed mockups are more accurate than bare images
Method 4: The DIY Paper Template Method
Sometimes the simplest methods work best. Creating a paper template requires no technology and provides a surprisingly effective preview.
How to Create a Paper Template
- Note the artwork dimensions (including frame if purchasing framed)
- Cut paper or cardboard to exact size
- Tape to your wall in potential locations
- Live with it for a day or two
- Adjust position as needed
Enhancing the Paper Method
- Print the artwork at reduced size and tape to the template
- Use colored paper that roughly matches the dominant artwork color
- Try multiple locations before deciding
- Take photos to review later with fresh eyes
When Paper Templates Work Best
- Large artwork (24x36 and bigger)
- When exact size is most important
- Uncertain about placement
- Limited technology access
- Multiple placement options to test
Method 5: Digital Photo Composite
For a more realistic DIY approach, digitally place artwork into photos of your room.
The frame generator does the scaling for you. In Place, choose In a room, then Your room, and select the photo of your wall. Drag the line along something whose length you know, such as a door, and type that length: the framed artwork then hangs at its real size. The steps below are for full control over perspective and shadows.
Step-by-Step Process
- Photograph your wall straight-on, in good lighting
- Find artwork image (high resolution if possible)
- Use photo editing software (Photoshop, Canva, or free alternatives)
- Resize artwork proportionally to your wall
- Adjust perspective to match the photo angle
- Add shadows for realism
Free Tools for Photo Composites
- Canva: Easy drag-and-drop interface
- Photopea: Free Photoshop alternative
- GIMP: Powerful open-source editor
This method requires more effort but provides highly customized results using your actual room.
Getting the Size Right
Correct sizing is the most important aspect of art visualization. Here's how to ensure accuracy:
Measuring Your Wall Space
- Measure available wall area (width and height)
- Note furniture heights that the art will hang above
- Consider viewing distance from typical seating positions
- Account for the frame if buying unframed art
Sizing Guidelines
| Wall Space | Recommended Art Width |
|---|---|
| Above 6-foot sofa | 4-4.5 feet (48-54 inches) |
| Above 4-foot console | about 3 feet (32-36 inches) |
| Narrow wall (3-4 feet) | 2-3 feet (24-36 inches) |
| Small accent wall | 1-2 feet (12-24 inches) |
The "Two-Thirds Rule"
A classic design principle: artwork should be approximately two-thirds the width of the furniture beneath it. For example:
- 72-inch sofa → 48-inch art
- 48-inch console → 32-inch art
Checking Scale in Visualizations
When using any visualization tool:
- Enter actual dimensions rather than guessing
- Include frame width in calculations
- Compare to known objects in the room
- Double-check the scale before purchasing
Tips for Different Room Types
Living Room
- Above sofa: Center art at eye level when standing (57-60 inches from floor to center)
- Large walls: Consider gallery arrangements or oversized statement pieces
- Fireplace mantels: Art should be proportional to mantel width
Bedroom
- Above headboard: Bottom of frame 8-12 inches above headboard
- Beside bed: Consider scale from lying position
- Calming colors: Bedrooms benefit from soothing imagery
Dining Room
- Above buffet/sideboard: Follow the two-thirds rule
- Statement pieces: Dining rooms often support bold, larger artwork
- Consider lighting: Art should be visible under dining room lighting
Hallways
- Gallery walls: Narrow spaces perfect for collections
- Eye level matters more: People walk close to hallway art
- Lighting: Often needs supplemental picture lighting
Checking Color Harmony
Size isn't everything. Colors must work with your existing decor.
Using Visualization to Check Colors
When previewing art:
- Match wall colors: Use tools that let you change wall colors
- Consider furniture: Does the art complement or clash?
- Check lighting: Colors look different under various light sources
- Multiple times of day: Daylight vs. evening lighting matters
Color Coordination Tips
- Pull colors from existing decor: Art with accent colors from your room
- Complementary colors: Art that contrasts intentionally
- Neutral frames: When unsure, neutral frames work with most art
- Consider the mood: Warm vs. cool color palettes affect room feeling
Making the Final Decision
After visualizing, use this checklist before purchasing:
Pre-Purchase Checklist
- Size is appropriate for the wall space
- Colors work with existing decor
- Style matches room aesthetic
- Framing options are considered
- Placement is decided
- Budget includes framing if needed
- Return policy reviewed (just in case)
Getting Second Opinions
Share your visualization with:
- Family members who live in the space
- Friends with design sense
- Online communities (Reddit r/interiordesign, etc.)
- Social media followers
Tools Summary: Quick Reference
| Method | Best For | Effort Level | Cost |
|---|---|---|---|
| View in Room | Quick visualization | Low | Free |
| Frame Generator | Frame preview | Low | Free |
| AR Apps | Real wall preview | Medium | Free-Paid |
| Paper Template | Size testing | Medium | Free |
| Photo Composite | Custom preview | High | Free |
Common Mistakes to Avoid
1. Ignoring the Frame
Unframed artwork looks very different when framed. Always visualize with the intended frame.
2. Wrong Scale in Visualization
Ensure you enter correct dimensions. Guessing leads to surprises.
3. Perfect Lighting Bias
Visualizations often show ideal lighting. Consider your actual room lighting.
4. Forgetting Furniture Relationship
Art doesn't exist in isolation. Check proportion with furniture below.
5. Single Angle Preview
View from multiple positions where you'll actually see the art.
Conclusion
Buying art without seeing it on your wall first is unnecessary risk. With free tools like our View in Room feature and Picture Frame Generator, you can visualize any artwork in your space before purchasing.
Whether you choose online tools, AR apps, or simple paper templates, taking time to preview ensures you'll love your art purchase for years to come. The few minutes spent visualizing saves potential disappointment, and return shipping costs.
Start with our free tools: frame your chosen artwork using the Picture Frame Generator, then see it on walls with View in Room. It's the smartest way to buy art with confidence.
Ready to see art on your wall? Try our free View in Room tool: upload any artwork and visualize it in different room settings instantly.