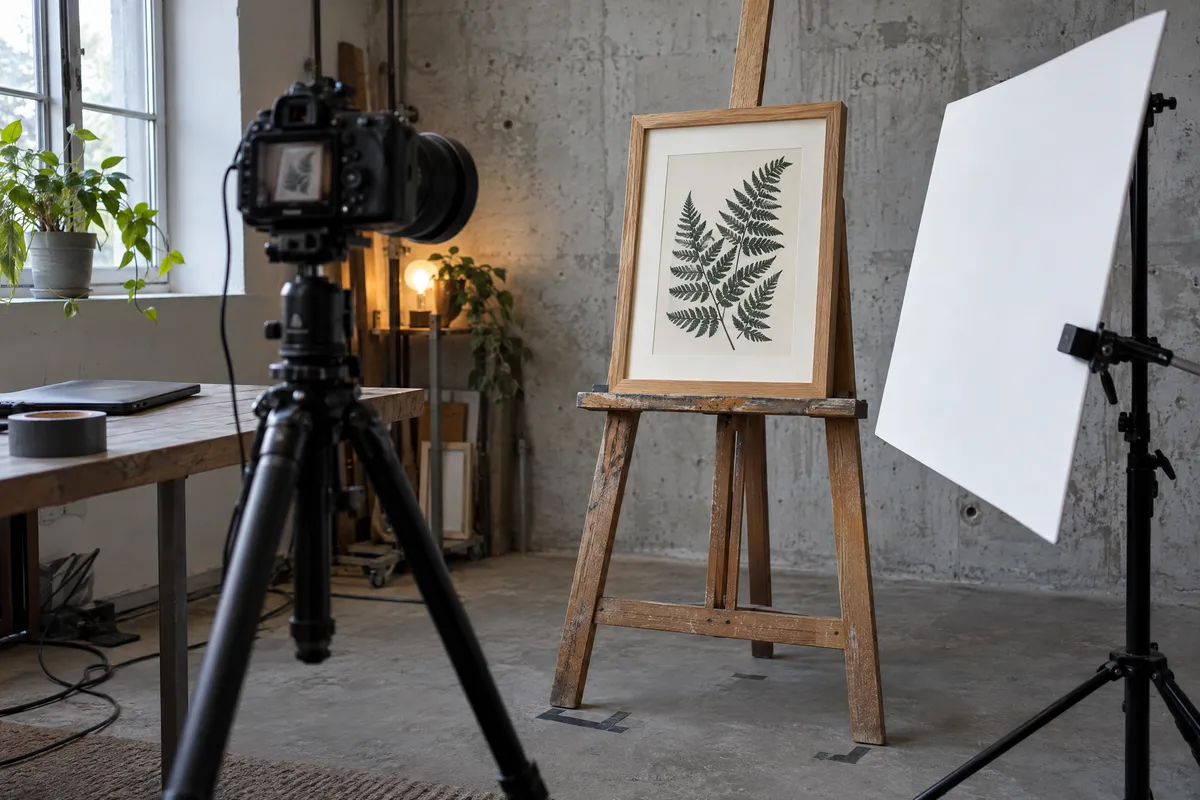
Great art photography is the difference between a sale and a scroll-by. Learn professional techniques to photograph your artwork for Etsy, including lighting setups, camera settings, and mockup creation.
Why Art Photography Matters on Etsy
Your artwork might be extraordinary, but on Etsy, buyers can't see it in person. They rely entirely on your photos to make purchasing decisions. Poor photography makes even masterpieces look amateur, while excellent photography elevates good work to irresistible.
The good news? You don't need expensive equipment or a professional studio. With the right techniques, you can capture stunning images that showcase your art's true beauty and help your Etsy shop thrive.
This guide covers everything from basic setup to advanced mockup creation, helping you create listing images that convert browsers into buyers.
Essential Equipment for Art Photography
Camera Options
You don't need a professional camera, but quality matters.
Best options (in order of preference):
- DSLR or mirrorless camera: Best quality and control
- Recent smartphone (iPhone 12+ or equivalent Android): Surprisingly capable
- Point-and-shoot camera: Adequate for smaller works
If using a smartphone, use the main camera (not the selfie camera) and avoid digital zoom entirely.
Tripod
A tripod is non-negotiable for art photography. Even slight camera shake creates blur that makes your work look unprofessional.
Tripod tips:
- Any stable tripod works for smartphones or cameras
- Use a remote shutter or timer to avoid touching the camera
- Position the tripod directly in front of the artwork, not at an angle
Lighting Equipment
Lighting is the most critical factor in art photography. Options include:
Natural light (free):
- Large north-facing window
- Overcast days provide soft, even light
- Avoid direct sunlight (creates harsh shadows)
Artificial light (recommended):
- Two softbox lights (an inexpensive kit is enough)
- Daylight-balanced bulbs (5000-5500K)
- Position at 45-degree angles to artwork
Advertisement
Setting Up Your Photography Space
Creating a Simple Studio
You don't need a dedicated room. Here's a minimal setup:
- Clear a wall or set up a backdrop
- Position your artwork vertically on an easel or flat on a table
- Set up two lights at 45-degree angles from each side
- Place your tripod directly in front, perpendicular to the artwork
- Remove distractions from the background
Background Options
The background should enhance your artwork, not compete with it.
For photographing the art itself:
- Plain white wall or backdrop
- Neutral gray seamless paper
- Black for dramatic contrast with light-colored work
For lifestyle/context shots:
- Simple room settings
- Solid-colored walls
- Minimal, tasteful decor
Avoiding Common Setup Mistakes
- Uneven lighting: Creates shadows that obscure details
- Reflections on glass: Remove glass before photographing, or shoot at a slight angle
- Warped perspective: Camera must be perfectly parallel to flat artwork
- Cluttered backgrounds: Distracts from the art itself
Camera Settings for Art Photography
For DSLR/Mirrorless Cameras
| Setting | Recommended Value | Why |
|---|---|---|
| ISO | 100-200 | Lower = less noise |
| Aperture | f/8 to f/11 | Sharp across entire image |
| Shutter Speed | Whatever the light requires | Use tripod for slow speeds |
| White Balance | Daylight or custom | Color accuracy |
| File Format | RAW + JPEG | Maximum editing flexibility |
For Smartphones
- Lock focus and exposure: Tap and hold on the artwork
- Turn off HDR: Can distort colors
- Use highest quality setting: Check camera settings
- Enable grid lines: Helps align the shot
- Use portrait orientation: For vertical artwork
Lighting Techniques for Different Art Types
Oil and Acrylic Paintings
- Two-light setup at 45-degree angles
- Slightly diffused light to show texture without harsh shadows
- Watch for glare on glossy or varnished surfaces
- If shooting behind glass, use polarizing filter or shoot at slight angle
Watercolors and Works on Paper
- Soft, even lighting is essential
- Position under glass (anti-reflective if possible)
- Flatten curled paper before shooting
- Watch for shadows from buckled areas
Mixed Media and Textured Works
- Slight directional lighting shows texture
- Take multiple shots with varied lighting angles
- Include detail shots to showcase texture
- Consider raking light (from one side) for dramatic texture shots
Photography Prints
- Even lighting from both sides
- Remove from glass if possible
- Watch for fingerprints and dust
- Ensure no warping of the print
Capturing the Perfect Shot
Step-by-Step Process
- Clean your artwork: Remove dust, fingerprints, smudges
- Set up lighting: Even illumination with no hot spots
- Position camera: Level, centered, perpendicular to art
- Check focus: Use center focus point on the artwork
- Take test shots: Review and adjust
- Capture multiple images: Different angles, details
- Include scale reference: Hand, ruler, or common object
What to Capture for Each Listing
Etsy allows up to 20 images per listing (the limit was 10 until August 2025). Use them wisely:
- Hero shot: Clean, well-lit main image
- Detail shots: Close-ups of texture, brushwork
- Scale shot: Shows size relative to furniture or person
- Framed mockup: Shows how it looks framed on a wall
- Room mockup: Artwork in an interior setting
- Process/materials: If relevant to your brand
- Packaging: For gifts or special presentation
- Artist working (optional): Builds connection
Post-Processing Your Art Photos
Essential Edits
Every art photo needs basic adjustments:
- Crop and straighten: Remove excess background, align edges
- Color correction: Match the actual artwork colors
- Adjust exposure: Ensure proper brightness
- White balance: Correct any color casts
- Remove spots: Clean up dust and imperfections
Software Options
| Software | Cost | Best For |
|---|---|---|
| Adobe Lightroom | Subscription (about $12-15/month) | Professional editing |
| Photoshop | Subscription (Photography plan, about $20/month) | Advanced manipulation |
| GIMP | Free | Budget-conscious users |
| Snapseed | Free (mobile) | Quick phone edits |
| Canva | Free/paid | Simple adjustments |
Color Accuracy Tips
Color accuracy is crucial for art sales. Buyers get frustrated when the delivered piece doesn't match the listing photos.
- Calibrate your monitor if possible
- Use a color checker card in reference shots
- Compare edited photos to original artwork on multiple devices
- Note in listing: "Colors may vary slightly depending on monitor settings"
Creating Mockups for Etsy Listings
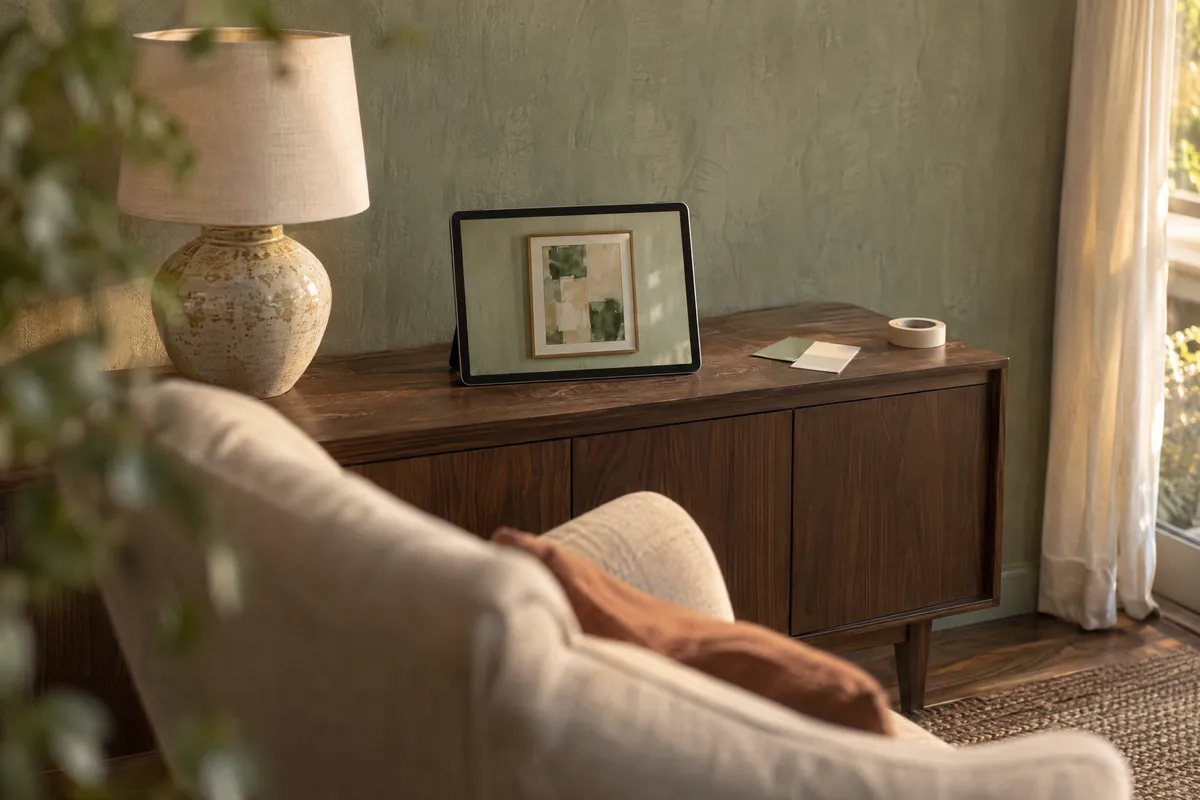
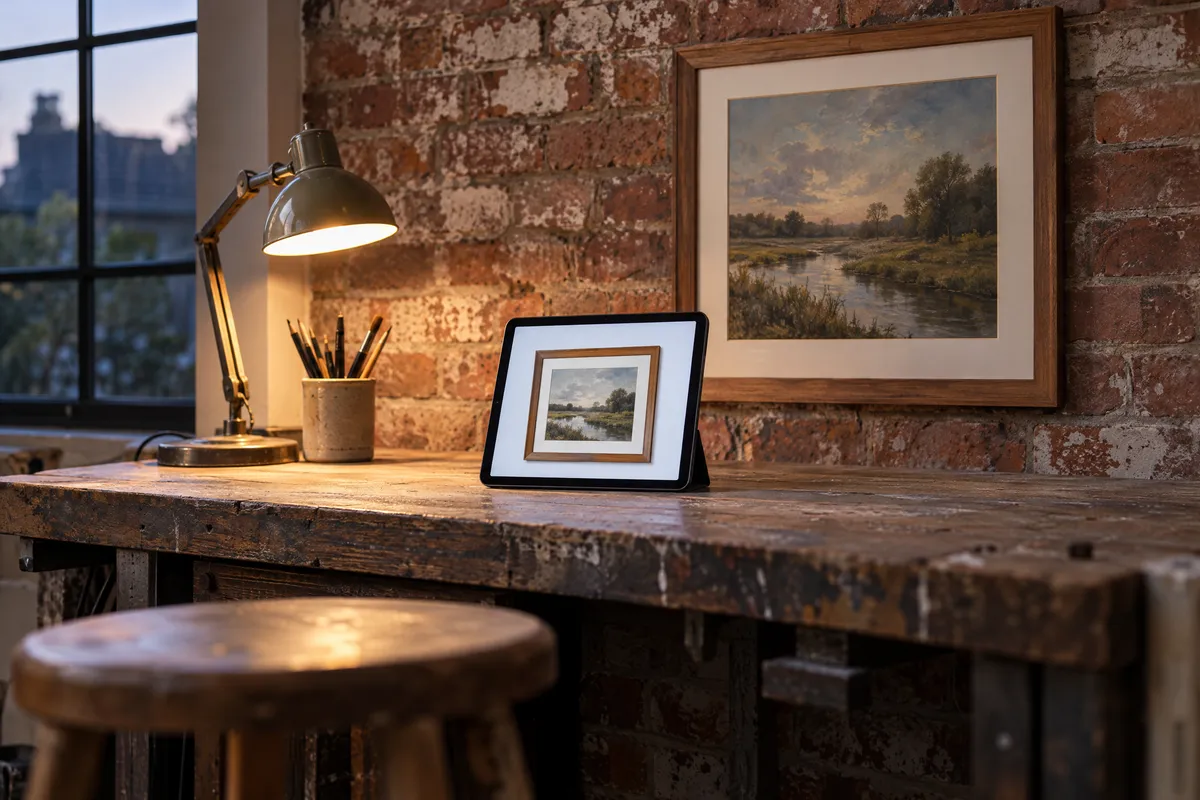
Mockups help sales by letting buyers visualize the artwork in their homes. They're essential for professional Etsy listings.
Types of Mockups to Create
- Frame mockups: Show the artwork in various frame styles
- Wall mockups: Display the art on different wall backgrounds
- Room mockups: Place the art in complete interior settings
- Scale mockups: Show size relative to furniture
Using Picture Frame Generator for Mockups
Our free Picture Frame Generator makes creating professional mockups simple:
- Upload your artwork image
- Choose a frame style that complements your work
- Select mat colors if desired
- Preview on wall backgrounds
- Download high-resolution mockups
The tool processes everything locally, so your artwork stays private. No watermarks, no signup required.
For wall visualizations, try our Wall Art Mockup Generator to see your framed artwork in different room settings.
Mockup Best Practices
- Keep it realistic: Don't use mockups that exaggerate size
- Match the style: Modern art in modern rooms, traditional in traditional
- Show variety: Different frames, different rooms
- Include actual photo: Don't only show mockups
Optimizing Images for Etsy
Technical Requirements
Etsy has specific image requirements:
- Minimum size: 2000 pixels on shortest side
- Recommended size: 3000 x 2250 pixels (4:3 ratio)
- File format: JPEG or PNG
- Maximum file size: 10 MB (files under 1 MB upload most reliably)
Image Optimization Tips
- Save for web: Compress without visible quality loss
- Use descriptive filenames: "abstract-blue-ocean-painting-16x20.jpg"
- Consistent sizing: Same dimensions across listings for professional look
- First image matters most: It's your thumbnail in search results
Complete Workflow: Start to Finish
Here's a professional workflow for photographing art for Etsy:
Day 1: Photography
- Set up your photography space
- Clean all artwork to be photographed
- Photograph each piece:
- Main shot
- Detail shots (2-3)
- Scale reference shot
- Review images and reshoot if needed
Day 2: Editing
- Import photos to editing software
- Basic adjustments (crop, exposure, color)
- Compare to actual artwork for accuracy
- Export high-resolution versions
- Export web-optimized versions
Day 3: Mockups
- Upload to Picture Frame Generator
- Create 2-3 frame mockup variations
- Generate wall/room mockups using View in Room
- Download and organize all mockups
Day 4: Listing
- Upload images in optimal order
- Write compelling descriptions
- Add accurate dimensions and details
- Set competitive pricing
- Publish and promote
Common Photography Mistakes and Fixes
| Mistake | Problem | Solution |
|---|---|---|
| Blurry images | Camera shake | Use tripod + remote/timer |
| Yellow/orange tint | Wrong white balance | Use daylight bulbs or correct in editing |
| Washed out colors | Overexposure | Reduce exposure, check histogram |
| Dark, muddy images | Underexposure | Add light or increase exposure |
| Glare spots | Light reflecting off surface | Adjust light angle or remove glass |
| Keystoning | Camera not parallel | Level camera, correct in editing |
| Distracting background | Clutter in frame | Use plain backdrop, crop tighter |
Tips for Etsy Art Sellers
What tends to work for art shops:
- Consistency wins: Same style across all listings looks professional
- Show scale: Buyers need to understand actual size
- Include mockups: Room visualizations help buyers picture the piece at home
- Update regularly: Refresh photos for slow-selling pieces
- Test different main images: Use Etsy's stats to see what performs
Resources for Etsy Sellers
Tools We Recommend
- Picture Frame Generator - Free mockup creation
- Wall Art Mockups - Room visualization
- Photo Frame Mockups - Perfect for photography
- View in Room - See art in interior settings
Further Reading
- Explore our guide for online sellers for more tips
- Learn about choosing the right frame for your art style
- Read our complete guide to art mockups
Conclusion
Professional art photography for Etsy doesn't require expensive equipment or professional training. With proper lighting, a steady camera, and attention to detail, you can capture images that do your artwork justice.
Remember: your photos are often the only thing standing between a potential buyer and a purchase. Invest the time to get them right, and complement your photography with professional mockups that help buyers visualize your work in their homes.
The combination of great photography and compelling mockups transforms browsers into buyers. Start implementing these techniques today, and watch your Etsy shop grow.
Ready to create professional mockups for your Etsy listings? Try our Picture Frame Generator - it's free, private, and requires no signup.